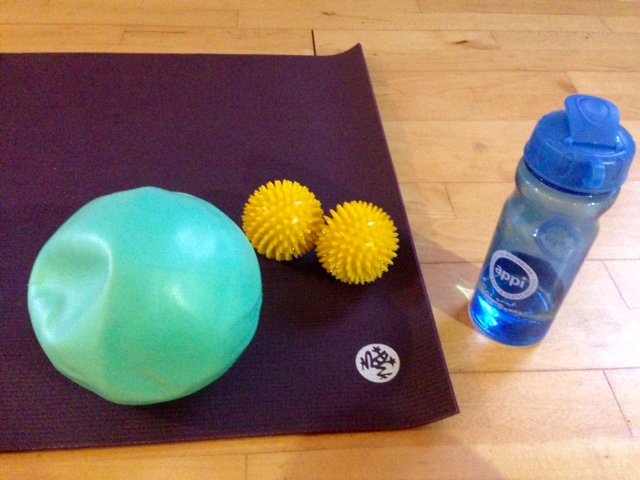
Spikey balls- AKA Massage balls, are a great Pilates prop but very often underused and misunderstood! They can be a great addition to your workout for adding extra challenge, increasing your body awareness, or releasing tight muscles. Let’s discuss these points further:
Releasing tension:
The most obvious and well known use of the spikey balls is to massage out tight muscles. Most people would normally just lie them under the troubled region and rub back and fore- effective yes, but also very sore and makes a tender area even more painful! You won’t want to repeat that often, and by the time you do, it is likely to have tightened up again.
A better way to do this is to place the spikey balls within the tight spots and complete specific exercises that promote natural, normal movements. This encourages the muscles to move with you the way that they are supposed to, before they got too tight and restrictive. Massaging the muscles out in their natural movements restores muscle memory and correct movement patterns too.
The most common areas we hold tension are in the shoulders (upper trapezius muscles) and gluteal muscles (AKA glutes/buttocks!). See below for how to release these:
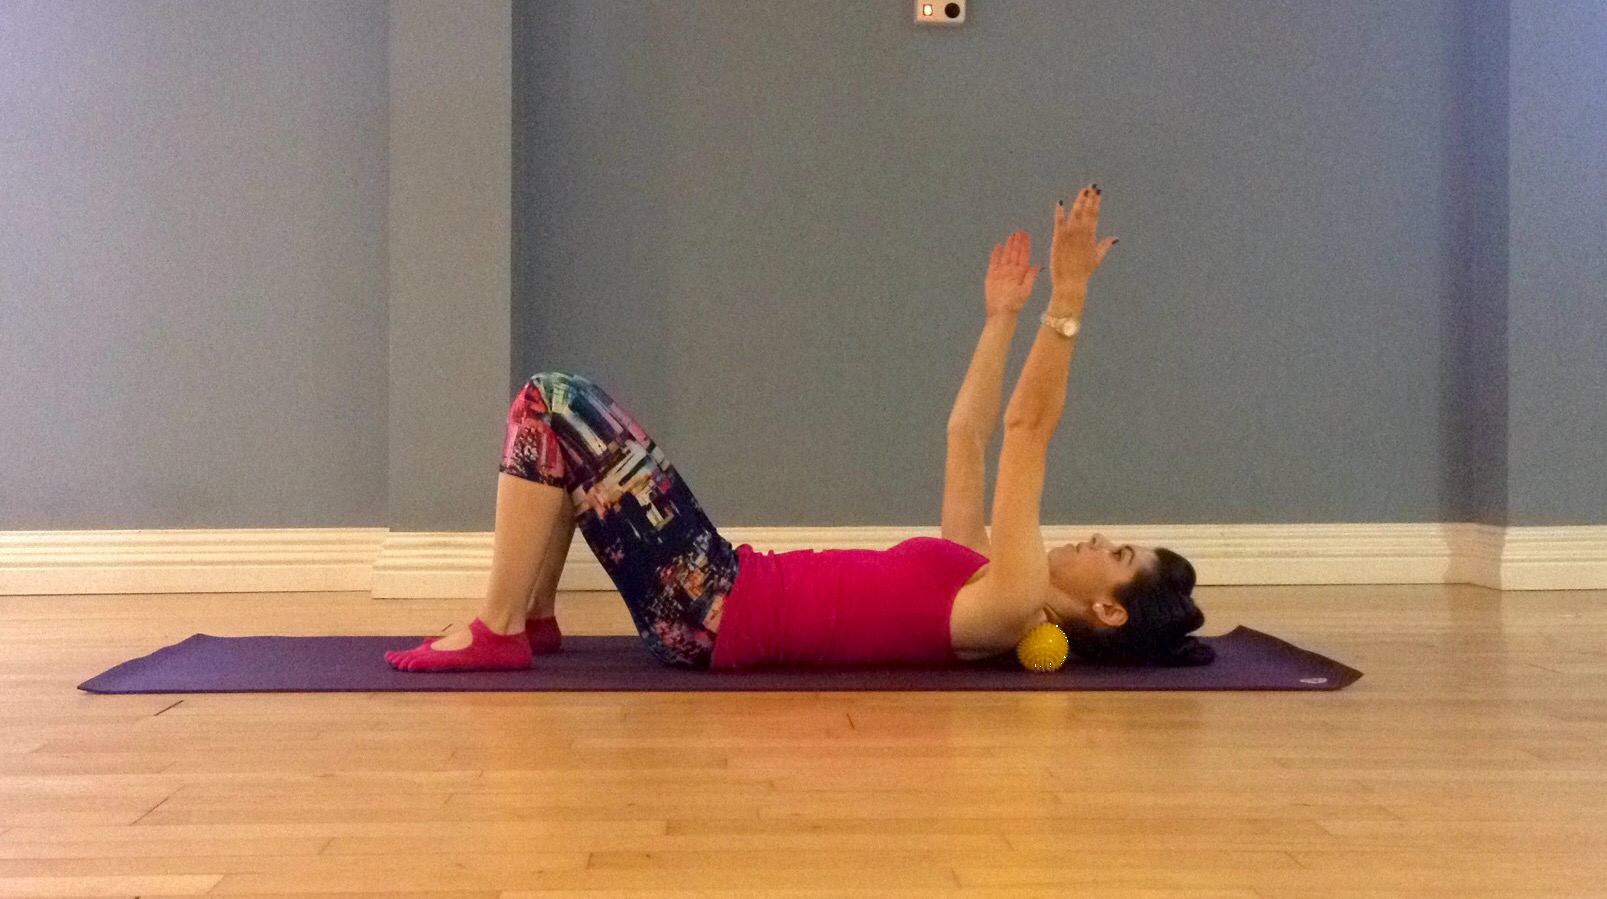
1) Place the spikey balls just under the trapezius muscles, close to the shoulder blades (or wherever you feel the tightest spot is). This will definitely be uncomfortable to begin with! Keeping your core strong and engaged will keep your trunk supported, whilst you exercise the arms.
* Float the arms overhead as far as is comfortable (don’t worry if they feel really restricted, this is normal when there is a large ball blocking the movement!);
* Float them overhead and draw big circles with both arms;
* Open the arms outwards to your sides;
* Shrug your arms up and down as if to reach for the ceiling and then back down again. This moves the shoulder blades at the same time.
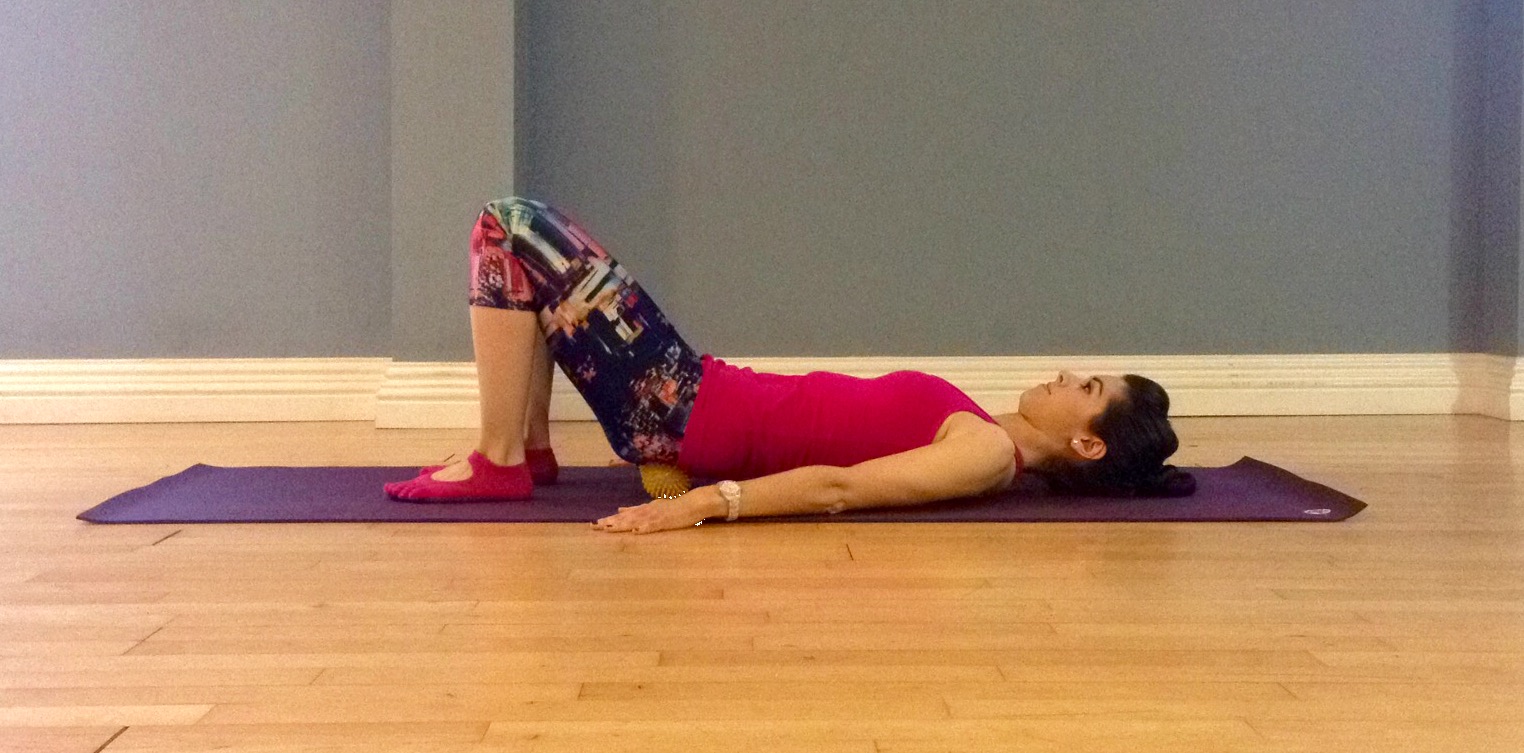
2) Place the spikey balls under your buttocks. Keep your back neutral (there may be a larger space than normal because the balls will lift you up a little), core engaged and align your knees and feet hip distance apart.
* Pelvic tilts– tilt your hips forwards and backwards, as if to flatten the spine to your mat, and then rock to create a larger space;
* 1 leg stretch– Lengthen out one leg along the mat, and then return slowly. Repeat by alternating legs;
* Let one knee fall out to the side (hip twist) and then return to the start. Alternate each leg;
* Raise one leg up to 90 degrees (table top position) and circle the knee around, try to keep the circle neat!
Awakening your senses:
This is my most favourite use of these props. Pilates is so much about learning body awareness, where your body is in relation to itself, in order to function together and in alignment. If you don’t know where your foot is then your leg won’t know how to work properly or find the floor!
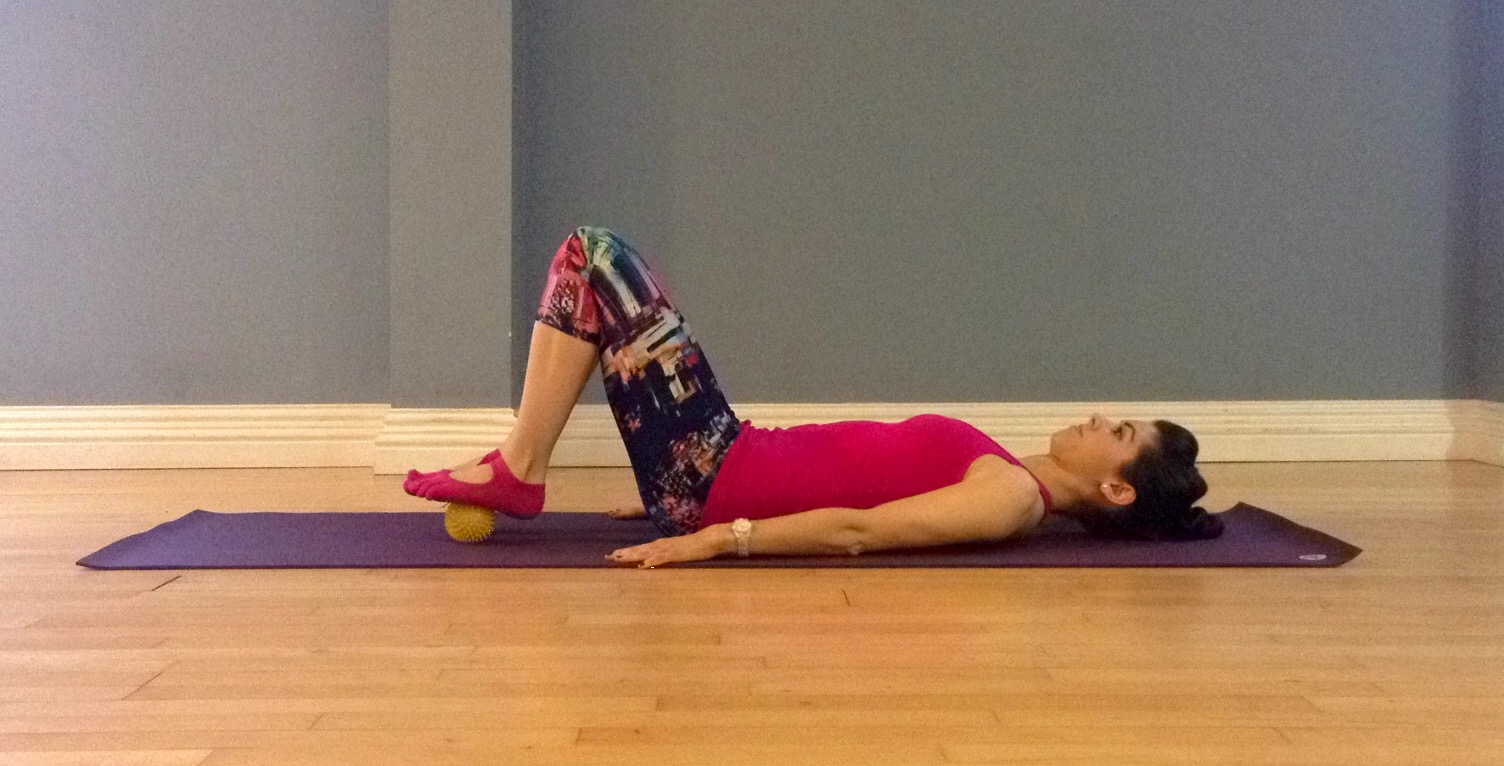
Placing the balls underneath your feet immediately stimulates your senses, you become very aware of the pressure on the soles, and of the balance challenges are you try to steady yourself. This kicks in your core muscles straight away and makes you aware of your knee and pelvis positions, as well as your hands, which you will use to stabilise yourself.
* Hundreds- engage your core and beat the arms up and down a few inches. press the soles in to the balls and ensure the legs stay steady;
* Try bridging whilst keeping the feet steady on the balls;
* Scissors– Float one leg up to 90 degrees, and then return it back directly on to the ball. Alternate legs and continue- it’s harder than it sounds!

I wrote a full class using these props for my latest Retreat Day last month and each participant received 2 spikey balls to keep afterwards! I enjoyed the class so much (and I think the group did too!) that I stayed back to film a short selection of the exercises. Watch this space for it coming soon!


